Before I even attempted to paint the weights on my character, I wanted to see if I could import it into Motion Builder and get it set up. Although, there weren’t many internet tutorials that I found helpful but I managed to figure out what needed to be done to import a file into the program.
In order for Motion Builder to correctly work out the joints in the arms, the model would need to be in a perfect t-pose. So, I went back and altered the model to fit it into a t-pose, redoing the skeleton also. It's also extremely helpful to name all the joints of the skeleton for the setup process.
Before it can be imported, the Maya file need to be exported as an FBX file. The file needed to included the mesh and bound rig, and have the textures displaying before export for them to show up in Motion Builder.
Unfortunately, on my first real attempt, the arms of the skeleton kept showing up as orange on the display in the Character Controls window, meaning that something wasn’t lining up properly. I had to tweak the skeleton in the arms until it showed up correctly.
With model altered, I then properly imported it into Motion Builder correctly and made sure it was ready to use.
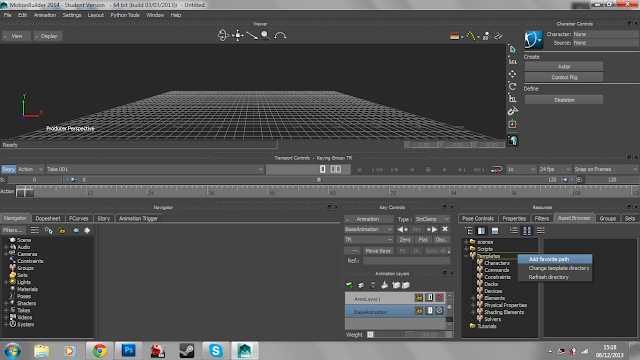 |
| To make it easier to find the files, right click in the bottom right, where it shows Characters, and "Add Favourite Path.". |
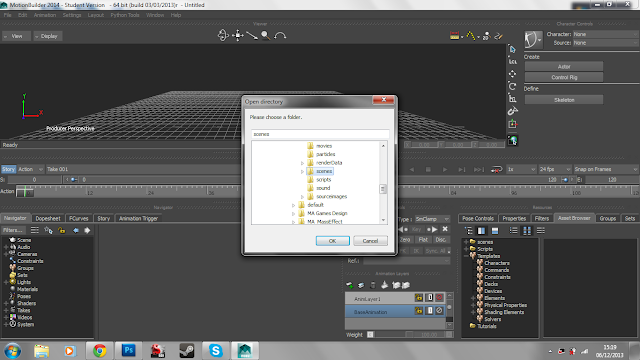 |
| Select the folder that contains the FBX and click OK. |
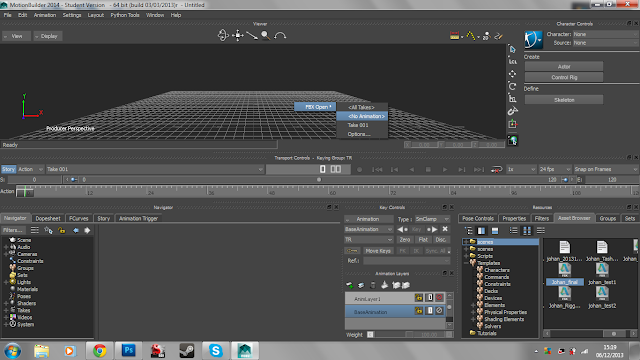 |
| The files should show in the bottom right. Click and drag the file onto the grid and click <No Animation> to import. |
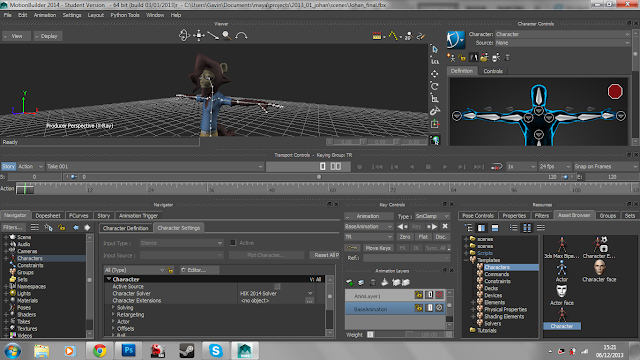 |
| After importing the file, drag the "character" icon from the bottom right to the grid, this should open the Character Settings and Character Definition boxes in the bottom left. |
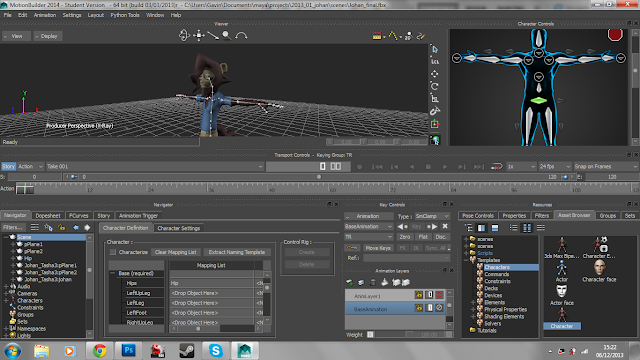 |
| Click on Character Definition, find the joints in the menu on the far left and drag them to the appropriate label in the Mapping List. So, for example, I dragged the bone labelled "hip" to the "hips" label. Now Motion Builder recognises that bone as the hips because the hips are green on the silhouette beneath Character Controls. |
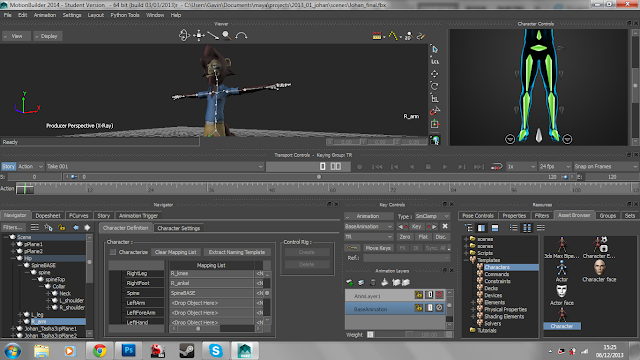 |
| Do this for all the joints in the legs... |
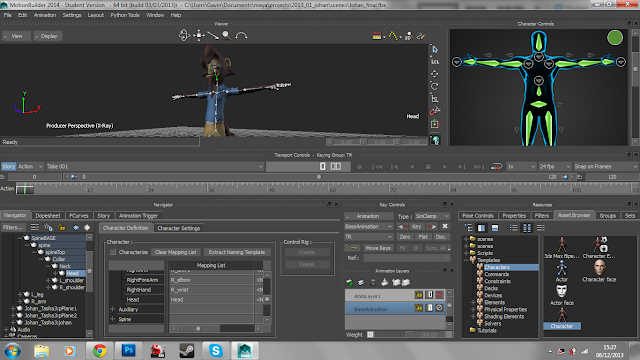 |
| ...And upper body. When the skeleton is green, the joints have been mapped correctly. |
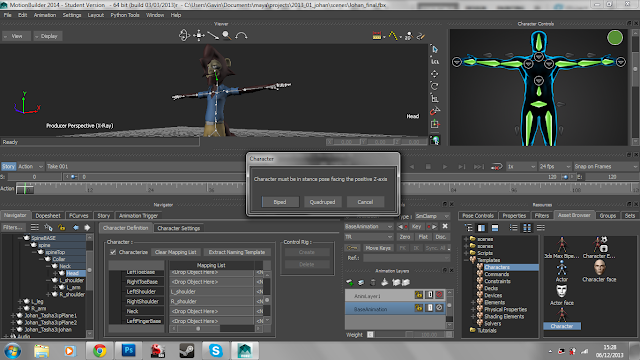 |
| To finalise the skeleton, click the Characterise tick box under Character Definition. In the small character window that comes up, click Biped, as the character walks on two legs. |
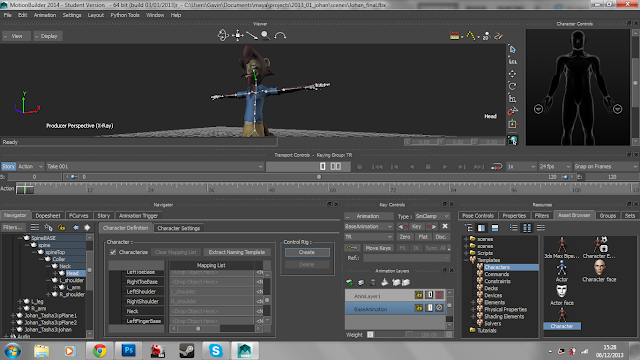 |
| Once the rig has been characterised as a biped, click Create under Control Rig in the Character Definition menu. |
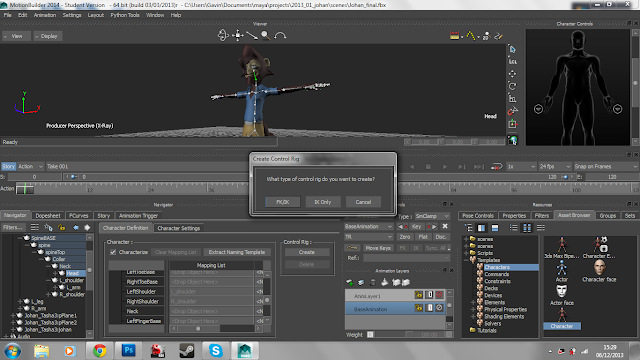 |
| Set the Control Rig to FK/IK. |
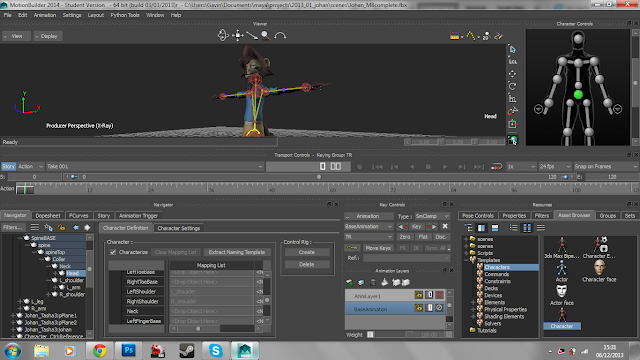 |
| Now the rig is ready for animating! |
Now that I know how to import a model into Motion Builder and that it will work properly with the rig, all I need to do is learn how to properly paint the weights of the model.


No comments:
Post a Comment