Early in July, the opportunity arose to try out motion capture, or mo-cap, within the university, sort of a joint project with the drama department. Motion capture is, basically, recording the movements of real actors and using those to animate a 3D character without the need for hand animation. It was a fantastic opportunity to get a character animated without much knowledge in animating a 3D model.
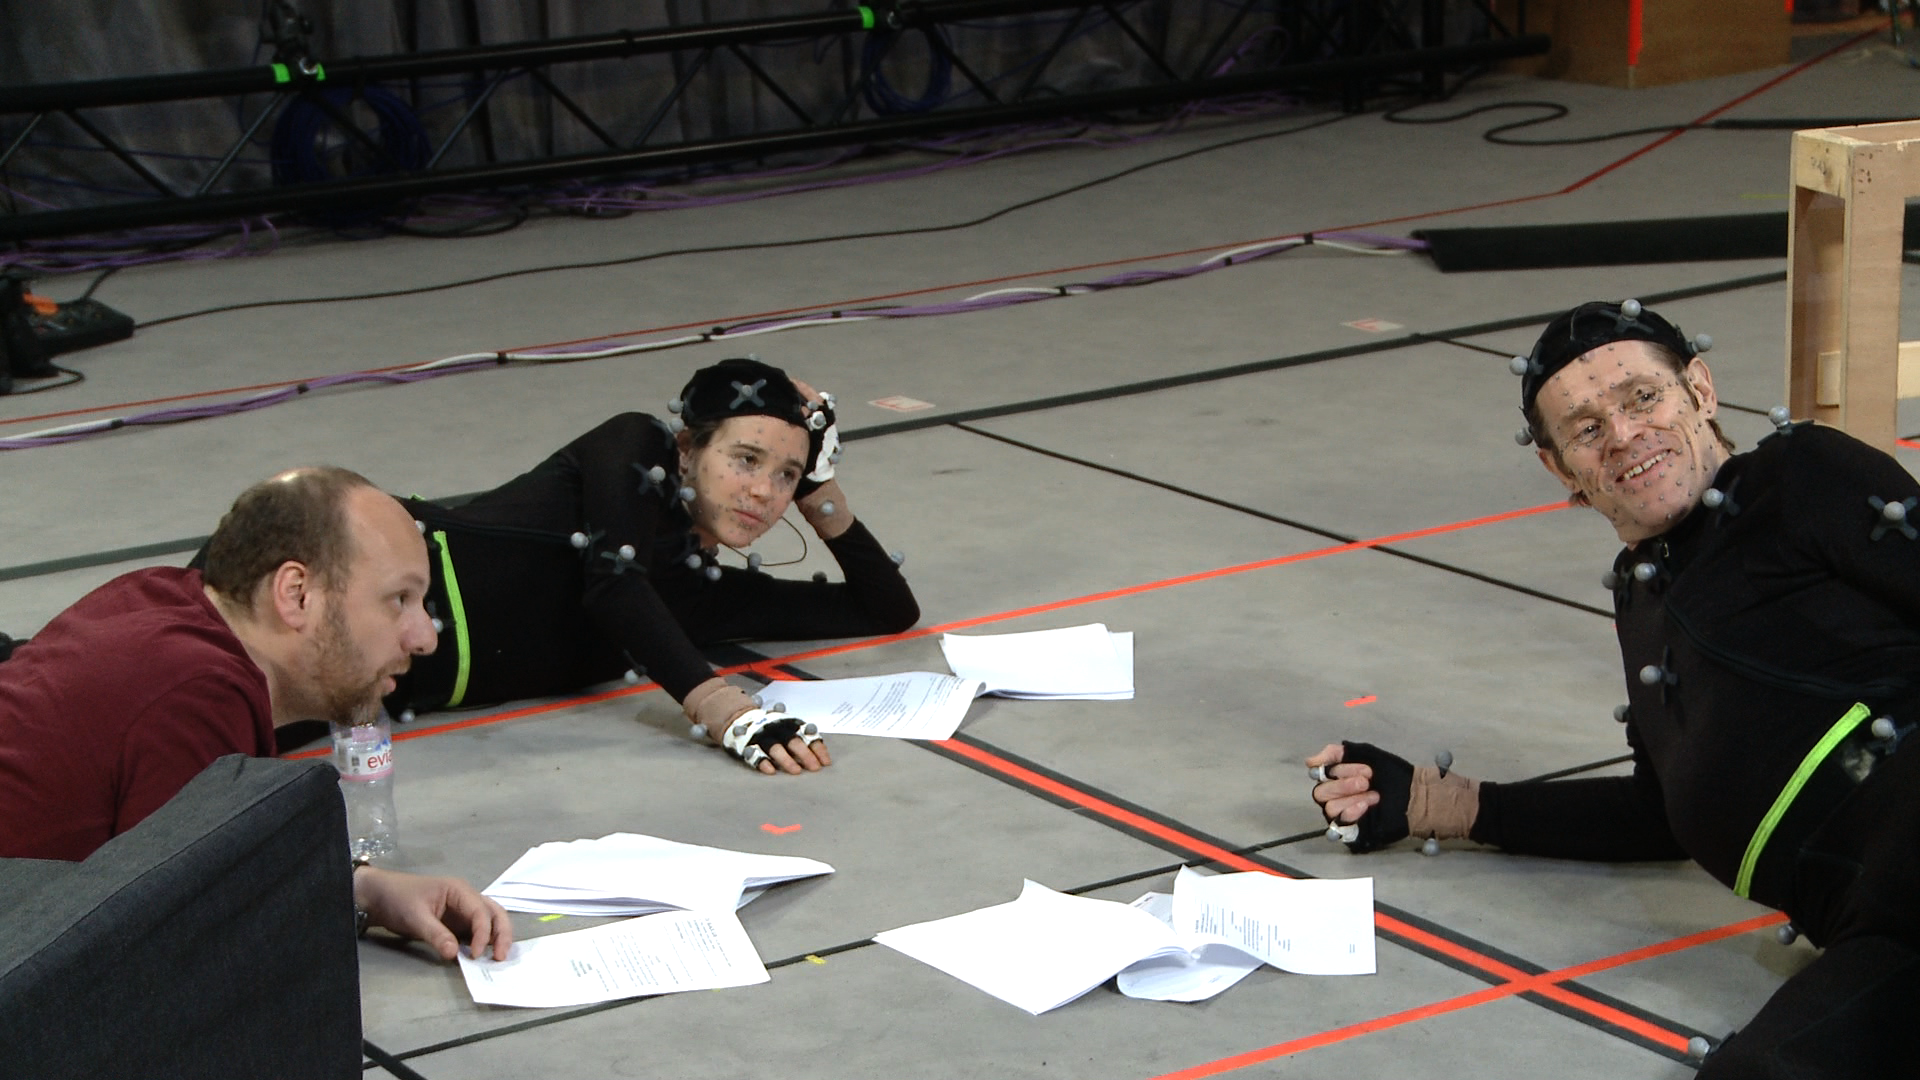 |
| Not to mention the stylish mo-cap suits. Beyond: Two Souls by Quantic Dream and Sony Computer Entertainment. Image source: http://farm9.staticflickr.com/8086/8516491143_0eb89d82b4_o.png Last accessed: 7th December 2013 |
After the first meeting, it was established that, in order for the process to begin, I would need a rigged and weighted 3D character ready to import into a program called Motion Builder by Autodesk. It quickly dawned on me that I knew very little about rigging 3D characters, almost nothing about weighting characters and less than that about using Motion Builder.
So, my first objective was to teach myself a little bit about how to properly rig a character I’d already modelled, with the help of a few internet tutorials.
I then set about creating a rig for my monkey character.
 |
| I created the rig by going to Skeleton > Joint Tool and started with the base of the spine. |
 |
| I created one half of the rig from the root at the skeleton. |
 |
| I mirrored the arm and leg joints. |

 |
| With the rig complete, I combined it to the mesh by selecting both and going to Skin > Bind Skin > Smooth Bind. |
With the model rigged, my next objective is to see how difficult it will be to import a rigged mesh into Motion Builder because this program is also completely new to me and I have no idea how long or labourious the process will be.
No comments:
Post a Comment